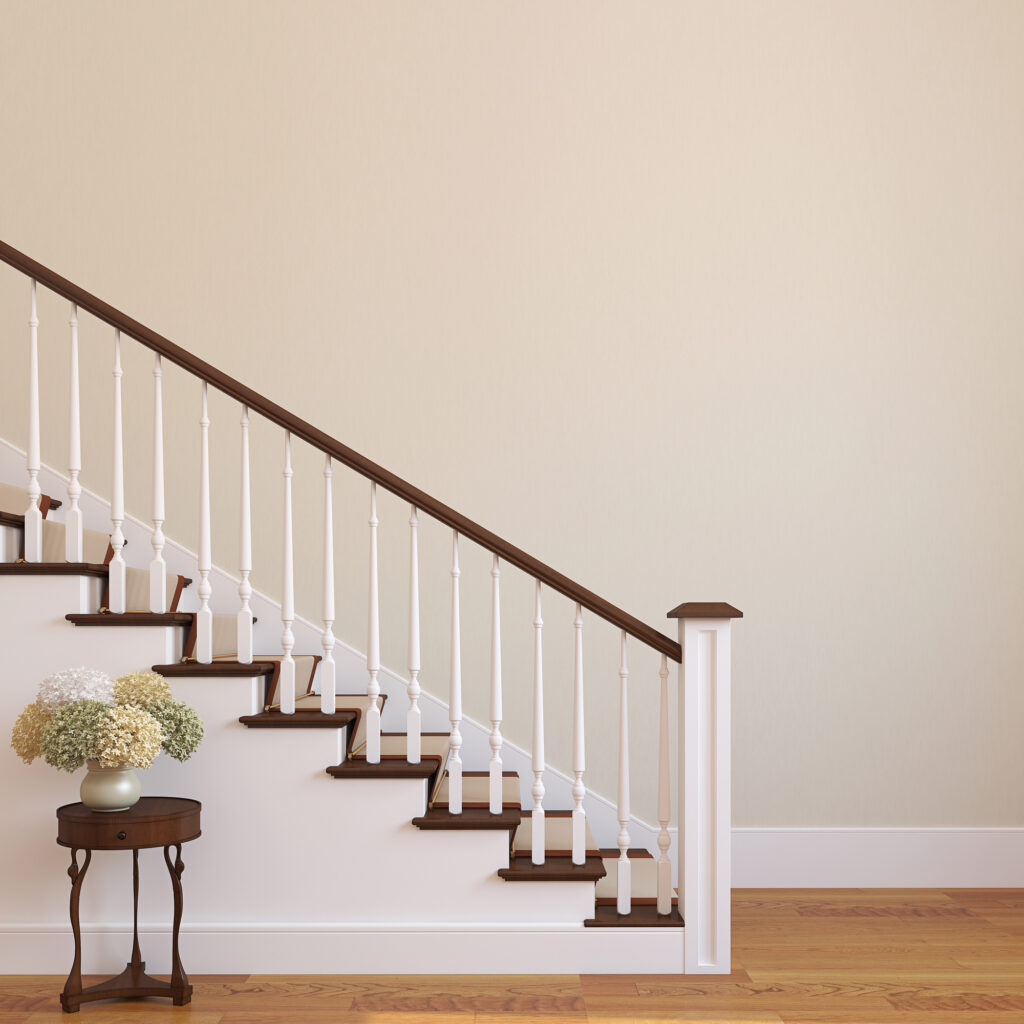
How to Paint Your Staircase: A Step-by-Step Guide for a Fresh, Fun Look

Have you been eyeing that old staircase and thinking it could use a little love? You’re not alone! Painting your staircase is one of those home projects that’s easier than it looks and way more fun than you’d expect. Especially here in Providence, RI, where winters give us plenty of reasons to stay cozy indoors, there’s no better time to breathe new life into your home. So grab your brushes, put on some tunes, and let’s make that staircase shine!
Step 1: Get Your Supplies (Don’t Forget the Coffee!)
Before you get started, make sure you have all the essentials: sandpaper, painter’s tape, primer, high-quality paint, rollers, brushes, and, of course, a nice hot cup of coffee. You’re not just painting a staircase—you’re embarking on a creative journey, and no journey should start without caffeine! Also, grab some snacks—you deserve it.
Step 2: Sand Like You Mean It
If your stairs have seen better days, they’re probably a little rough around the edges. It’s time to smooth things out. Sanding is the key to getting rid of those scuffs, scratches, and general wear and tear. Grab your sandpaper or an electric sander and get to work. Think of this as your pre-paint workout. You’ll not only prep the stairs for a perfect paint job, but you’ll also get those biceps warmed up—win-win!
Step 3: Primer Time—Set the Foundation
After sanding, it’s time to prime. A good primer is like laying the foundation for a masterpiece. It ensures that the paint sticks well and helps to protect against chipping and peeling. Especially here in Providence, where the winter moisture can make wood surfaces swell, a primer will keep your paint job looking fresh for longer. Take your time and make sure you apply a nice even coat—it’s all about setting yourself up for success!
Step 4: Pick Your Colors and Paint with Confidence
Here comes the fun part: painting! Choose a high-quality, scuff-resistant paint that can handle all the love your staircase is going to get. Want a classic look? Go with neutrals. Feeling bold? Pick a color that makes you happy every time you see it. Remember, your staircase doesn’t have to be boring—it’s a perfect opportunity to add a splash of personality to your home. And here’s a pro tip: paint every other step first so you can still go up and down without creating an obstacle course.
Step 5: Get Creative with Patterns or Stencils
If you want to add an extra dash of flair, consider painting a pattern on the risers. You could use stencils for a geometric design, create stripes, or even write out your favorite quote. Every time you walk upstairs, you’ll be greeted by something that makes you smile. It’s a small touch that can make a big difference and turn your staircase into a real conversation piece.
Step 6: Seal It with a Topcoat
Once your paint is dry, it’s time to protect all your hard work with a clear topcoat. This step is essential to ensure your beautiful new stairs don’t get scuffed up too easily, especially during those snowy Providence winters when wet boots are bound to make an appearance. The topcoat will give your stairs a nice polished finish and keep them looking brand new for longer.
Step 7: Maintain the Magic
Your staircase is now a work of art—don’t let it fade! A quick wipe-down every week or so will help keep dust and dirt at bay and maintain that freshly painted glow. With just a little bit of love, your staircase will continue to be a highlight of your home, even through the slushy winter months.
Bonus Tips for Staircase Painting Success
Use Painter’s Tape for Crisp Lines: Don’t underestimate the power of good painter’s tape. Carefully tape off areas you don’t want painted, and you’ll be rewarded with sharp, professional-looking lines. There’s nothing quite like peeling off that tape to reveal a perfectly clean edge—it’s a DIYer’s dream.
Add Non-Slip Grip for Safety: If you have kids, pets, or just a tendency to dash up the stairs in socks, consider adding a non-slip additive to your topcoat. It’s an easy step that ensures your newly painted stairs stay safe.
Enjoy the Process: Put on your favorite playlist, take your time, and have fun with it. Remember, this is your home—every brushstroke adds a bit of your personality. The journey is just as important as the destination.
Transform Your Staircase and Transform Your Home
Painting your staircase is an easy and affordable way to make a big impact on your space. With a little effort and a lot of creativity, you can turn something functional into something beautiful. And during these chilly Providence winters, it’s the perfect project to keep you busy, warm, and feeling accomplished. Every time you see your colorful, freshly painted stairs, you’ll feel that little extra bit of pride that only a DIY project can bring. If you’d like a little help or just want to leave it to the pros, Good Deeds Painting in Providence, RI, is here for you. We love helping homeowners bring their visions to life, and we’re all about turning ordinary spaces into something extraordinary. Give us a call today, and let’s make your home even more beautiful!
